Posted on Leave a comment

What to plant in August

Planting in August is towards the end of the growing season but there are still some vegetables that you can plant during this time. Here are a few options:

Winter Salad Greens – Varieties like spinach, kale, rocket, and lettuce can be planted in August. They will grow slowly as the temperatures drop, providing you with fresh greens into the autumn and winter months.

Radishes – Radishes are quick-growing and can be sown in August for a late-season harvest.

Turnips – Turnips can be planted in August for an autumn harvest.

Peas – Some varieties of peas, such as sugar snap peas, can be planted in August for a late harvest. They may produce smaller yields compared to spring planting, but they can still be rewarding.

Broccoli and Cauliflower: These brassicas can be started indoors in August and transplanted to the garden later. They will grow slowly through the autumn and may even produce heads before winter.

Onions – Sets or seedlings of overwintering onion varieties can be planted in August for a spring harvest.

Perpetual Spinach – This is a variety of Swiss chard that can be sown in August and harvested into the winter.

Perennial Herbs – This is a good time to establish perennial herbs like thyme, rosemary, and sage.

Remember, August is getting late in the growing season, so you might want to consider using season extenders like row covers, cold frames, or cloches to protect your plants from early frosts.

Posted on Leave a comment

Layering strawberry plants

Layering is a propagation technique used to reproduce plants by encouraging the development of roots on a stem while it is still attached to the parent plant. Strawberries are a great example of how to layer. Many strawberry plants weaken after a few years so you an replace these through this layering technique;

After fruiting, strawberries will have a growth surge and will produce long stems. Identify these stems on a healthy and vigorous strawberry plant – it needs to be flexible and long enough to reach the ground easily.

Select a suitable spot near the parent plant where you want to create the new strawberry plant. Prepare the area by clearing away any weeds and loosening the soil.

Gently bend the chosen stem down towards the ground, making sure it doesn’t break. You can use a small garden staple or a U-shaped wire to anchor the stem to the ground temporarily.

Create a shallow trench or groove in the soil where the bent stem will be placed. Ensure that the groove is wide enough to accommodate the stem comfortably. Alternatively, you can push them into pots. We’d suggest using 12cm pots with peat free compost.

Make a small incision on the lower side of the stem that will come in contact with the soil. This will help encourage the formation of roots.

Place this section of the stem into the prepared groove, ensuring that it makes good contact with the soil. You can use small stones or wire to hold the stem in place if needed.

Cover the stem with soil, leaving the tip of the plant exposed above the ground. Press the soil gently around the stem to secure it in place.

Water the layered stem thoroughly to ensure the soil is evenly moist. Be mindful not to overwater, as excessive moisture can lead to rotting.

Monitor the layered stem regularly, keeping the soil moist but not waterlogged. Over time, new roots should develop from the wounded area of the stem.

Once the layered stem has established a strong root system, typically within a few weeks to a few months, it can be severed from the parent plant. Ensure the new plant has developed enough roots to support itself before separating.

Carefully dig up the newly rooted strawberry plant, ensuring you take as many roots as possible, and transplant it to its permanent location. Water it well after transplanting to help it settle into its new environment.

By following these steps, you should be able to successfully layer strawberry plants and propagate new ones from an existing healthy plant.

Posted on Leave a comment

July – what to prune now

Our gardens and outdoor spaces are generally in their prime by now so you should be enjoying all the work you’ve put in. However, some greenery can be starting to get a little overgrown and needing a tidy.

So what to prune now and what to leave? Here’s our list;

Fruit trees – fruit trees like plum, apples and pears can become too heavily laden so you can give them a tidy up. Plum and cherry trees are susceptible to ‘silver leaf’, a fungal disease which can happen when being pruned, however the risk just now is lower.

Aubergines and peppers – pinch out the tip of the main stem to encourage side-shoots. This creates bushier plants that should produce more fruits.

Chillies – harvest them regularly to encourage more growth.

Ceanothus – this can be pruned now as long as it’s finished flowering.

Evergreen hedges – these need to be pruned by mid-autumn so it’s a good time to get started. Just check there are no bird nesting in them beforehand.

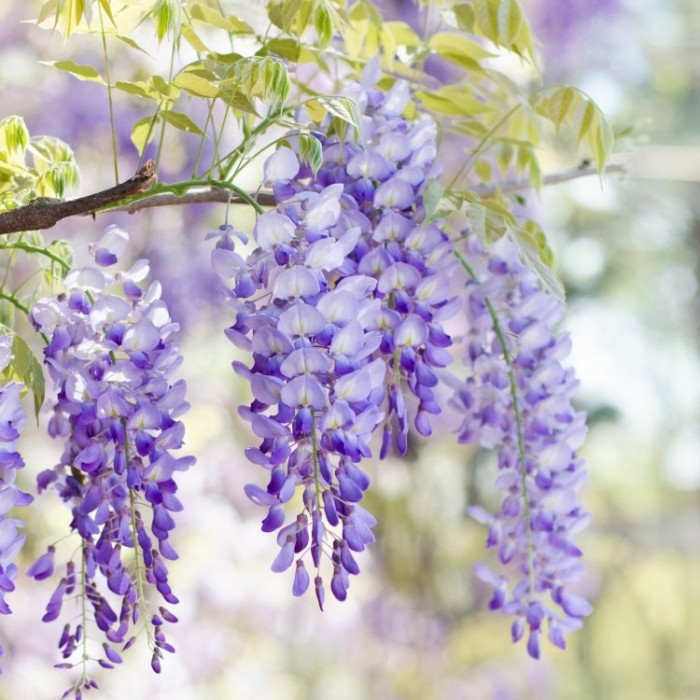
Wisteria – trim back the long spindly bits to six or seven buds, then prune again in December. Full a fuller description of how to best prune – read our article

Flowering currants – by pruning after flowering, you’ll encourage new growth for next year.

Aside from pruning for growth, it’s important to improve airflow. Remove faded leaves and thin out bushy foliage to let the air circulate. It will also deter fungal diseases and whitefly.

Posted on Leave a comment

Growing roses

Roses are a flower that you can grow almost anywhere such is their versatility. There is such a variety in colour and scent, you’re almost spoilt for choice. There are a variety of ways to grow them so you can work out what will be best for you and your outdoor space:

Potted roses

Growing roses in containers offers flexibility, allowing you to move them around and control their environment. Choose a large pot with drainage holes and fill it with quality potting soil enriched with organic matter. Plant the rose at the same depth as it was in its nursery container. Ensure the pot receives at least six hours of direct sunlight per day, and water regularly, keeping the soil evenly moist but not waterlogged. Fertilise with rose-specific fertiliser.

Training climbing roses

Climbing roses add vertical interest to your garden when trained to grow on trellises, arches, or fences. Install a sturdy support structure for the rose to climb on, ensuring it can bear the weight of the plant. As the rose grows, tie the main stems to the support structure using soft garden twine or plant ties. Prune climbing roses annually to remove dead or weak wood and to shape the plant. Train new shoots horizontally to encourage the production of more flowers.

Incorporating roses in mixed borders

Roses can be planted alongside other flowering plants to create stunning mixed borders. When choosing companion plants, consider their compatibility with roses in terms of sunlight, soil type, and water requirements. Select plants that complement the rose’s colour and provide contrasting or complimentary blooms. Leave enough space between the roses and other plants to allow for airflow and to prevent competition for resources. Regularly monitor and address any pest or disease issues that may arise.

Planting bare-root roses

Bare root roses are best planted between October and April, during bare root season. This gives them time to establish ready to bloom come summer. Bare-root roses are dormant plants that are sold without soil around their roots. To plant them, soak the roots in water for a few hours before placing them in a hole that is wide and deep enough to accommodate the roots. Backfill the hole with soil, ensuring that the bud is slightly above the soil level. Water thoroughly and provide regular care to help the roses establish.

Growing roses from cuttings

Take a 6- to 8-inch stem cutting from a healthy rose plant in early spring or late autumn. Remove the leaves from the bottom half of the cutting and place the cutting into a pot filled with a well-draining soil mix and keep it consistently moist. Place the pot in a warm, bright location but out of direct sunlight. Over time, the cutting should develop roots and can be transplanted into a larger container or the garden.

Remember, roses generally require ample sunlight (at least six hours per day), well-drained soil, and regular watering and feeding to thrive. Pruning, deadheading spent blooms, and monitoring for pests and diseases are also important aspects of rose care.

Posted on Leave a comment

Which rose is right for me?

The rose is such a versatile plant, you’re always bound to find one that is right for you.

Species roses

These are wild roses and their hybrids. They are happy in poorer soil and only need a little pruning. So easy care, which is always a bonus! Most have single flowers and are loved by pollinators.

Shrub roses

The most romantic of the roses. Shrub roses and modern roses have been bred for good growth and repeat flowers. It’s a diverse range of plants that have a beautiful scent. Easy to grow, they can cope in a variety of conditions and soil types. The taller shrub roses can be trained as climbers.

Climbers

Climbers have a more relaxed growth than shrub roses so you will need to support them (with canes, not cups of tea and chat – although they may like that too!!)  The repeat flowering means they will last all summer, and they will give you a gorgeous scent. There are shorter climbers which you can keep in a pot as long as you water and feed them regularly.

Ramblers

Not the walking sort…. These roses are at their happiest growing up into a tree or even over an outhouse. They tend to only flower once during early summer months, producing small clusters of flowers.

Bush roses

Bush roses include floribundas and hybrid teas. The former produce clusters of flowers, whereas the latter produce large flowers at the end of their stems. Both types make great wee hedges or can also be grown in pots. Coming in a range of colours, you can fill your outdoor space with these bright flowers.

Posted on Leave a comment

June Prune

Pruning needs in June can vary depending on plant types and their growth patterns. Here are a few examples of plants that may benefit from pruning during June:

Roses

Many varieties of roses benefit from regular pruning to promote healthy growth and abundant flowering. In June, you can remove spent blooms by cutting just above a healthy leaf set or a bud facing outward.

Spring-Flowering Shrubs

Shrubs that bloom in spring, such as lilacs (Syringa), forsythias (Forsythia), magnolias and cistus are typically pruned immediately after they finish flowering. However, if you missed pruning them earlier in the spring, June can still be an appropriate time to tidy up their shape or remove any dead or damaged branches.

Fruit Trees

June is a suitable time to perform maintenance pruning on fruit trees. Remove any suckers, water sprouts, or dead branches. Additionally, thinning out excess fruit may be necessary to improve overall fruit quality and prevent branches from becoming overloaded.

Evergreen Shrubs

If you have evergreen shrubs that have become overgrown or need shaping, you can lightly prune them in June. Be cautious not to remove too much foliage, as it may stress the plants during the hotter months.

Herbaceous Perennials

Some herbaceous perennials benefit from a mid-summer pruning to encourage new growth and extend the blooming season. Examples include salvias, catmints, and nepetas. Cut back the spent flower stalks or trim back the whole plant by one-third to one-half to stimulate fresh growth.

If you’re not sure if you should be pruning a particular plant this month, give us a call or pop in, we’re happy to help!

Posted on Leave a comment

Crops to grow with the kids

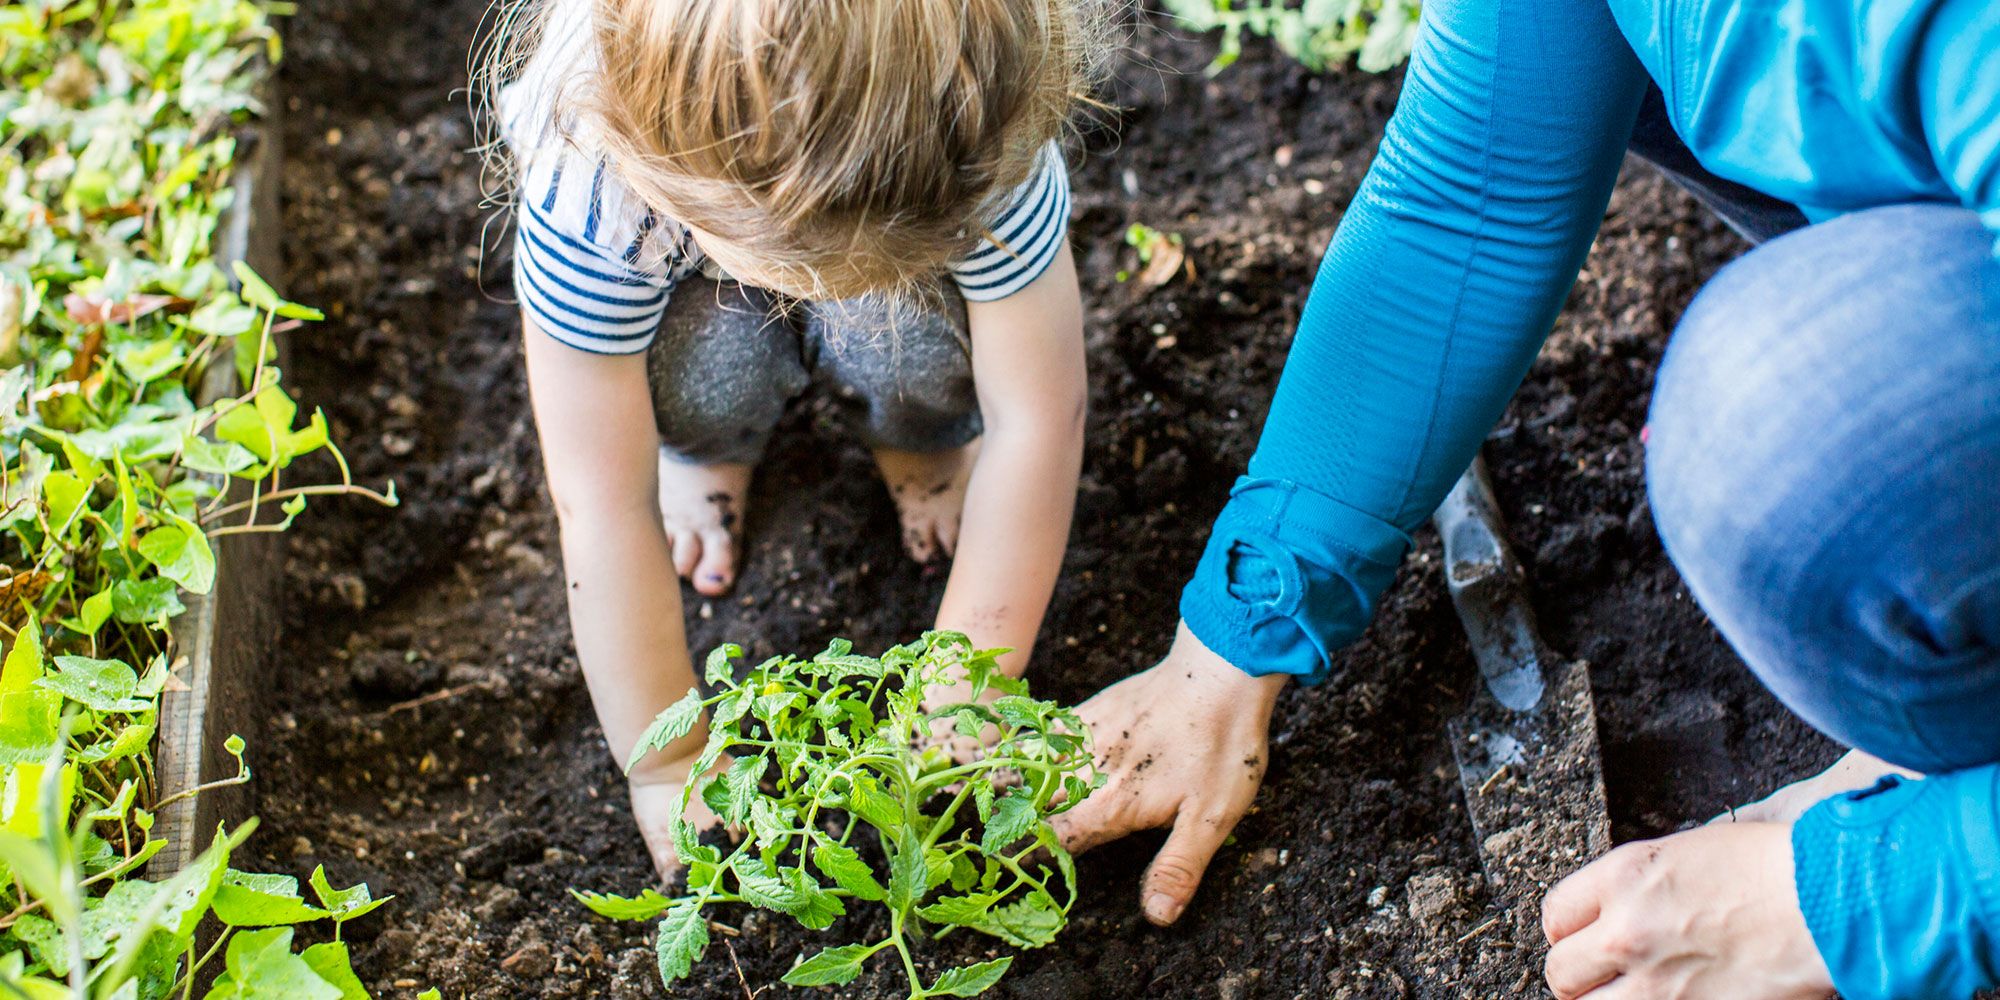
Growing crops with kids can be a fun and educational activity.  It’s important to choose crops that are relatively easy to grow, have a short growing season, and are visually appealing or provide a tasty reward. Here are some of the best crops to grow with kids:

Blueberries

These are fun, easy to grow and super tasty. It’s best to buy a blueberry plant and place it in a sunny spot. They need ericaceous compost and fed with organic compost each Spring. Harvest in late summer.

Nasturtiums

Who doesn’t love an edible flower?! The leaves can be eaten when they’re young then the flowers used to make pretty cakes. That’s a double whammy of activity for kids in the holidays!

Chard

Easy to grow and with a long harvest period, this is a great veg to have in the kitchen. They have big seeds which makes it easy to sow.

Carrots

Carrots are fun to grow because kids can watch the leafy greens emerge from the soil, and they can be pulled up to reveal the colourful roots. Choose shorter varieties or “baby” carrots for quicker results.

Lettuce or salad greens

Lettuce and salad greens are fast-growing crops that can be harvested when young, making them perfect for kids. They can be grown in containers or in a small garden patch.

Herbs

Herbs like basil, mint, and parsley are aromatic and full of flavour, making them engaging for kids to grow. They can be grown indoors or outdoors, and children can use them to season their favourite dishes.

Remember to involve kids in every step of the process, from selecting the seeds or seedlings to caring for the plants and harvesting the crops. This hands-on experience will help them develop an appreciation for nature and food.


Posted on Leave a comment

The Chelsea Chop

No, we’re not talking hair cuts…. The Chelsea Chop is a gardening technique that involves pruning or cutting back certain herbaceous perennial plants in late spring or early summer, typically around late May or early June. It is named after the Chelsea Flower Show as the timing for the chop coincides with the show.

The purpose of the Chelsea Chop is to control the height and promote bushier growth of the plants. By selectively cutting back the stems, the plant’s energy is redirected to the remaining stems, resulting in more compact and fuller growth. It also delays flowering slightly, which can extend the overall flowering period and create a more staggered display of blooms.

The technique is most commonly used on late-flowering herbaceous perennials, such as sedums, asters, phlox, and rudbeckias. It involves cutting back about one-third to one-half of the stems, usually using shears or secateurs. The precise timing and extent of pruning depend on the specific plant and its growth habit.

By employing the Chelsea Chop, gardeners can achieve more manageable and visually appealing plants with an extended blooming period. It also helps prevent plants from becoming overly tall and floppy, which can be especially beneficial in windy areas or crowded gardens.

Remember that not all perennials benefit from this pruning method, and it’s important to research and understand the specific requirements of each plant before attempting the Chelsea Chop.

If you need any help, come and talk to us, we’d be delighted to help!

Posted on Leave a comment

Caring for clematis

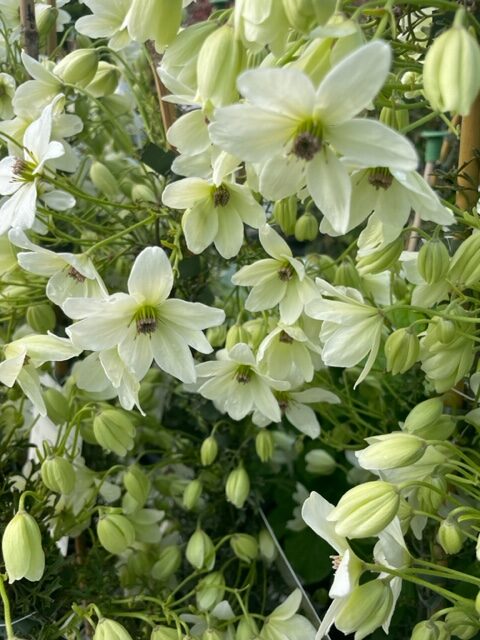
You’ll be seeing clematis in full bloom across many gardens just now.  But it can get confusing when plants are split into groups depending on their type but to keep it simple;

Group 1 clematis means no pruning

Group 2 clematis means light pruning

Group 3 clematis means hard pruning in Spring.

Let’s talk about Group 2 clematis

Group 2 clematis blooms on old and new wood, so pruning is important. In late winter or early spring, before new growth emerges, prune lightly to remove any dead or weak stems.

Watering: Keep the soil consistently moist but not waterlogged. Water deeply when the top inch of soil feels dry, especially during dry periods. Provide a well-draining soil to prevent root rot.

Mulching: Apply a layer of organic mulch around the base of the plant to conserve moisture, suppress weed growth, and regulate soil temperature. Keep the mulch a few inches away from the stems to prevent rotting.

Support: Group 2 clematis typically benefit from some support. Install a trellis, arbor, or other suitable structure to allow the vines to climb and spread. Tie the stems loosely to the support to guide their growth.

Sun and Shade: Group 2 clematis prefers partial shade, where it receives at least six hours of sunlight a day but is protected from intense afternoon sun. Plant them where they can enjoy morning sun and afternoon shade.

Pests and Diseases: Monitor your clematis for common pests such as aphids, slugs, and snails. Watch out for signs of diseases such as powdery mildew or wilt and take appropriate action if needed.

Winter Protection: Group 2 clematis is generally hardy, but in colder regions, it may benefit from some winter protection. Apply a layer of mulch around the base and consider covering the plant with burlap or a frost blanket during severe cold spells.

If you have any questions, come and talk to us, we’d be delighted to help!

Posted on Leave a comment

Pruning wisteria

Wisteria – when and how to prune

They’re known for their stunning displays of flowers in the summer but to get the best out of your wisteria, you should be pruning it twice a year – once in summer and once in winter.

Winter pruning

Winter pruning should be done in January or February as this is when the plant is dormant and doesn’t have any leaves. Cut back any growths to two or three buds to tidy it up before growing season begins.  This will ensure the flowers will not be obscured by leaves. When cutting, make sure to cut just above the new buds.

Summer pruning

After flowering, (usually July or August), cut back the green shoots of the current year’s growth to five or six leaves. This will help manage the size of the wisteria and encourage it to form flower buds rather than green growth.

By removing the summer growth, it allows more sunlight as well as better air circulation to reach the new growth which in turn, improves the chance of flower buds. Restricting the amount of vegetative growth and encouraging short, flowering spurs will result in more flowers.

Renovation or hard pruning

If your wisteria has been long established, you may need to give it a really good prune.  Remember that hard pruning will stimulate strong, new growth so it is better to avoid feeding in the first spring after hard pruning.

Shorten long branches to just above a young branch lower down or if necessary, cut back completely to a main branch. If there are branches twining, you may need to trace it back before cutting it. Ideally, once pruned you’ll have a plant with well-spaced branches.

If you’ve any questions, please give us a call or pop in!